http://cutitoutalready.com/
Saturday, March 10, 2012
New Favorite Thing - Cut it out Frames
This little site has great products - if you are looking for a that botique look for less.. try out Cut it Out - frames, letters, and more. You can paint your own fancy frames - super cute. Just check out the example below.
http://cutitoutalready.com/
Yum - Yum Hummus x2
It's been awhile - I know... Life got a bit crazy and my time alone to write on my blog was seriously.. gone. I'm back however - ready to share 2 great new hummus recipes that I recently tried. I love hummus and I do think that Trader Joes and Target have some really great products on their shelves - but having never attempted to make hummus myself, i wanted to at least try it once ( or twice in this case).
In the attempt to entice my kids to try this tasty little snack I opted for a Peanut Butter ( instead of Tahini) recipe and then to satisfy my cravings and love for all things Greek - a Kalamata Olive recipe.
Peanut Butter Hummus - Recipe:
1 can chickpeas (15-19oz) drained
4 Tb peanut butter
2 Tb olive oil
3 Tb lemon or lime juice
1 clove of garlic (crushed)
1/4 tsp salt
In food processor, combine all ingredients, blend to a dip consistency. If too thick add a some warm water ( 1 Tb at a time ) Let flavors combine for at least 30 min. stores up to 3 days in fridge.
( my notes: I think my garlic clove was bit too large - it is quite garlicky in flavor - I may have to add a bit more pnut butter to get my girls to try it - fussy kids ) Other than that it is a great beginner hummus recipe - even for your adult friends who haven't tried it yet - this is an easy combination for everyone to enjoy.
Kalamata Olive Hummus - Recipe:
1 can chickpeas - drained
1/2 cup kalamata olives
1/3 cup tahini - find in bulk section at your local health food store.
2 Tb olive oil
1/2-3/4 tsp red pepper flakes
3 Tb lemon juice
1/4 tsp cumin ( or more to taste)
water to thin, if needed.
In food processor, combine all ingredients into a smooth creamy dip - add water to thin out if needed. Allow to sit in fridge for 30 min. for flavors to blend. Store in fridge for up to 3 days. Great on sandwiches - use instead of mayo, etc.. much better for you.
So here's a picture of both the hummus recipes - Enjoy!!
Monday, February 6, 2012
Spring Cleaning on the Mind??
I love the Daily Green - There are some great tips for Green Cleaning that are super cheap and you might even have the ingredients in your pantry, fridge or laundry room. I most recently had a clogged sink.. this sink seems to clog a few times a year (Hmmmm... I wish I had a disposal on my master bathroom sink, lol)
A stopped up sink or tub is a real hassle, but pouring toxic chemicals like Drano on them isn't so wise. Not only will that pollute our waterways, but the products can cause chemical burns and are highly dangerous if ingested. Do you really want that in your home?
Baking Soda and Boiling Water: Pour 1/2 cup of baking soda into the problem drain, followed by 2 cups of boiling water. If that isn't doing it for you, chase the baking soda with a 1/2 cup of vinegar and cover tightly, allowing the vigorous fizzing of the chemical reaction to break up the gunk. Then flush that with one gallon of boiling water.
Read more: http://www.thedailygreen.com/green-homes/latest/green-cleaning-spring-cleaning-460303#ixzz1lcvkEiqm
Just another neat tip --- I hate buying refills for my swiffer and actually I purchased a reusable mop-type-thing that had 2 pads that can be washed - well unfortunately by the time it get through the mudroom and part of the eat in kitchen in my house - that reusable pad is Disgusting! I only have two -I will use one in the Bathroom and then I'm out --- So I found this neat little link on how to make your own reusable pads ( I'll be swinging by the store later today and getting me reusable diapers.. like asap.)
http://doityourselfdivas.blogspot.com/2011/05/diy-reusable-swiffer-wet-jet-pad.html
Here is just one more DIY Cleaning Tip - for making your own Dusting Clothes for the Swiffer duster.
http://www.sew-much-ado.com/2010/02/tutorial-reusable-swiffer-duster-cloths.html
Here is just one more DIY Cleaning Tip - for making your own Dusting Clothes for the Swiffer duster.
http://www.sew-much-ado.com/2010/02/tutorial-reusable-swiffer-duster-cloths.html
Tuesday, January 31, 2012
Little "s" made blogger - that's me :)
Just thought I'd share that I am currently working on posting a half dozen crafting and diy posts for my blog - so stay tuned....follow my blog...encourage me to continue - My goal is about 1 diy a week of my own - things I've created, taken pictures of and loaded just to share - I found myself very inspired by Pinterest lately and instead of just pinning others cute diy projects, food recipes, etc.. I'd like to actually do them and share my experience.
I may post my favorite things, other blogs I follow and more... I'm a busy mom who doesn't have hours to dedicate to large projects.
More like a Procrastinator who wants near immediate gratification.. (hey.. I know I'm not the only one out there)
Anyway - I'm feeling Wednesday (yep - tomorrow) will be a great day to post a super easy diy! Oh, the lily is just because I live in MN and it was 40degrees this morning at 6:30am - crazy, I want Summer, I want Summer!
Saturday, January 28, 2012
Funky little fab coasters - Easy Peasy for the first time sewer.
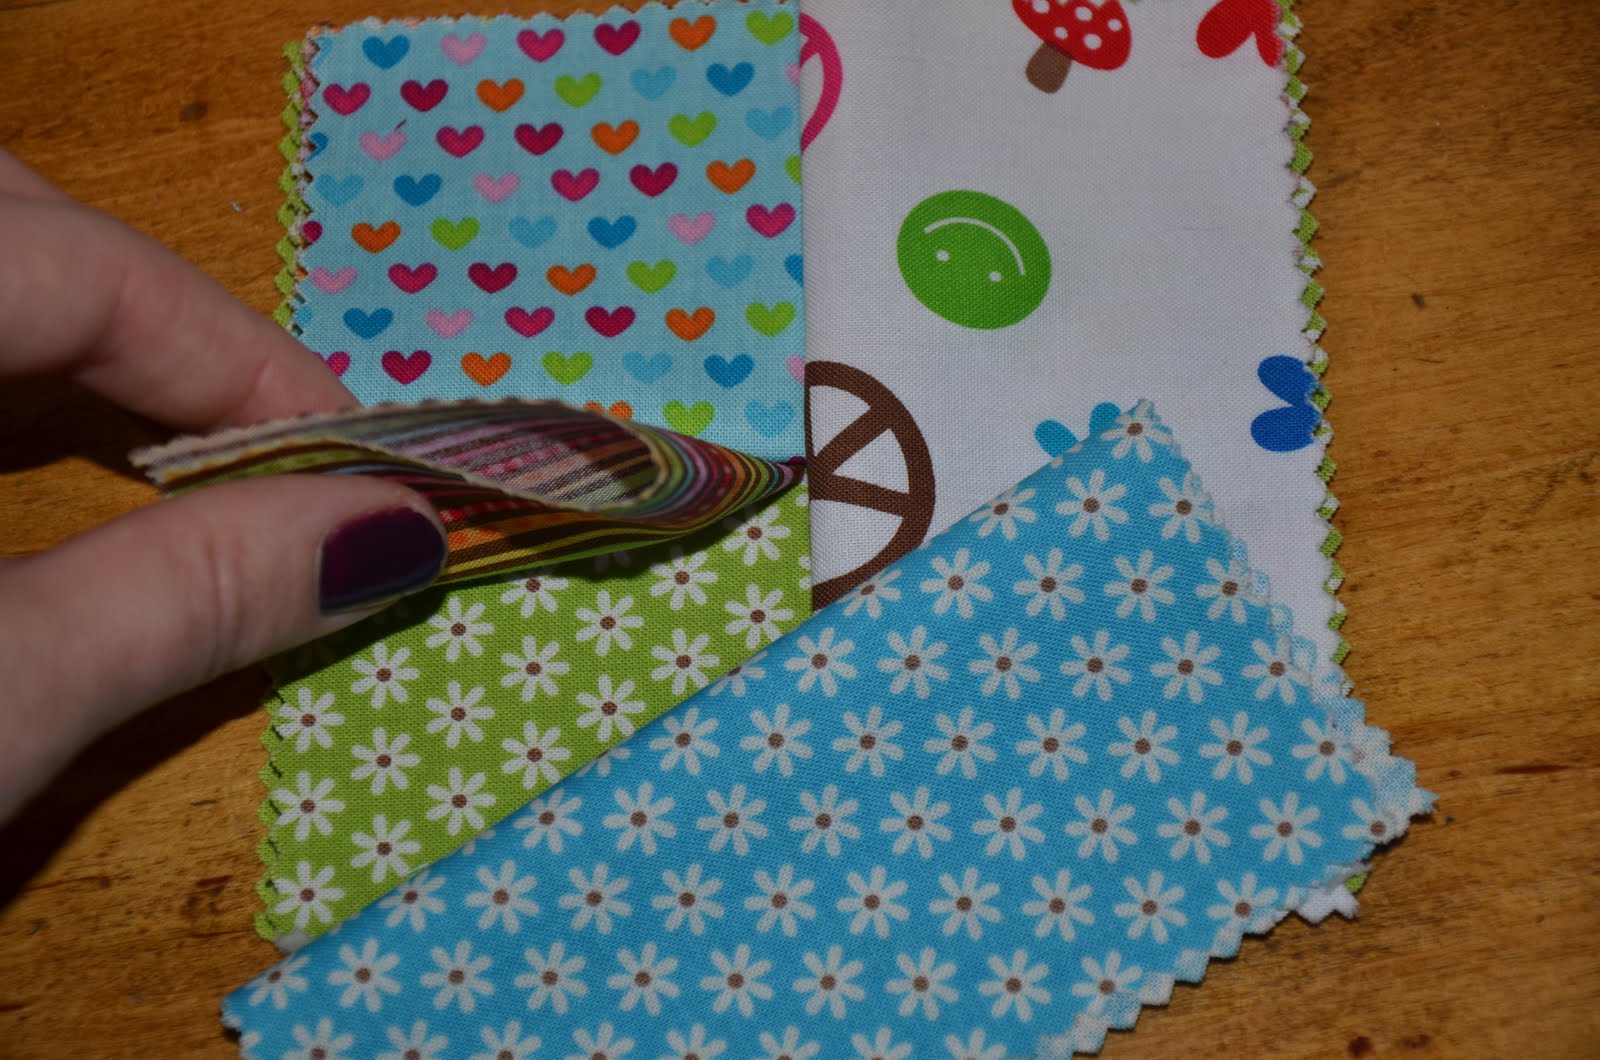
Ok these little coasters are so much fun to make and super easy too. I got the idea from a friend of mine and I just can't seem to stop making them. I am doing up a bunch for teacher gifts and gifts for my sisters - If you use up your scraps this will viturally cost you nothing ( love it!!) if you are savvy like me and buy fabric packs (aka: Charm packs) from ebay or on sale at your local fabric stores - you will get a great selection of fabrics that are from one collection, all coordinating and... trust me...it will make people think you are a whiz when it comes to choosing fabrics for these fun little coasters. There are just a few supplies that you need and check out the pictures below ( i tried my best to do a step by step.. (ahhhemm - my first one, ok I 'm patting myself on the back right now :) Anywho.. here goes...
Supplies : Sewing Machine ( I use a cheap old White - it works great)
Coordinating Thread
6 - 5x5 squares of fabric
1 - 5x5 sqaure of batting ( I use 100% cotton.. and it's fairly thin)
Scissors
Step One: Sandwich the 5x5 square of batting between 2 of the squares (wrong sides facing) ( Hint: the square on top will be the fabric that will show on the bottom of the coaster)
Step Two: Fold the remaining squares in half ( I just finger press the seam, but you can iron if you want to be more exact)
Step Three: place the folded pieces (unfinished edges together) along the the edges of the 5x5 sandwiched square. Continue with the remaining pieces ( see below)
Step Three Continued...( placing the final folded square. .. lift the first half and place the final piece along the raw edge) It should look this the picture below when all the pieces are layered on the "sandwiched" piece.
Step Four: Sew around the entire edge of the
coaster with a 1/4" seam allowance. ( i found it easier to pin
down my fabric - but it's not necessary. )
\
those corners, were bulk makes it hard
to turn them out.
Step Six: Turn all the folds right-side-out ( use a bone folder, or pen, or something long and skinny (not sharp) to push out the corners. Yeah Your DONE!
Wrap them up with some ribbon and a bow (or a rosette - fun) and gift them. Enjoy...
Subscribe to:
Posts (Atom)