
Ok these little coasters are so much fun to make and super easy too. I got the idea from a friend of mine and I just can't seem to stop making them. I am doing up a bunch for teacher gifts and gifts for my sisters - If you use up your scraps this will viturally cost you nothing ( love it!!) if you are savvy like me and buy fabric packs (aka: Charm packs) from ebay or on sale at your local fabric stores - you will get a great selection of fabrics that are from one collection, all coordinating and... trust me...it will make people think you are a whiz when it comes to choosing fabrics for these fun little coasters. There are just a few supplies that you need and check out the pictures below ( i tried my best to do a step by step.. (ahhhemm - my first one, ok I 'm patting myself on the back right now :) Anywho.. here goes...
Supplies : Sewing Machine ( I use a cheap old White - it works great)
Coordinating Thread
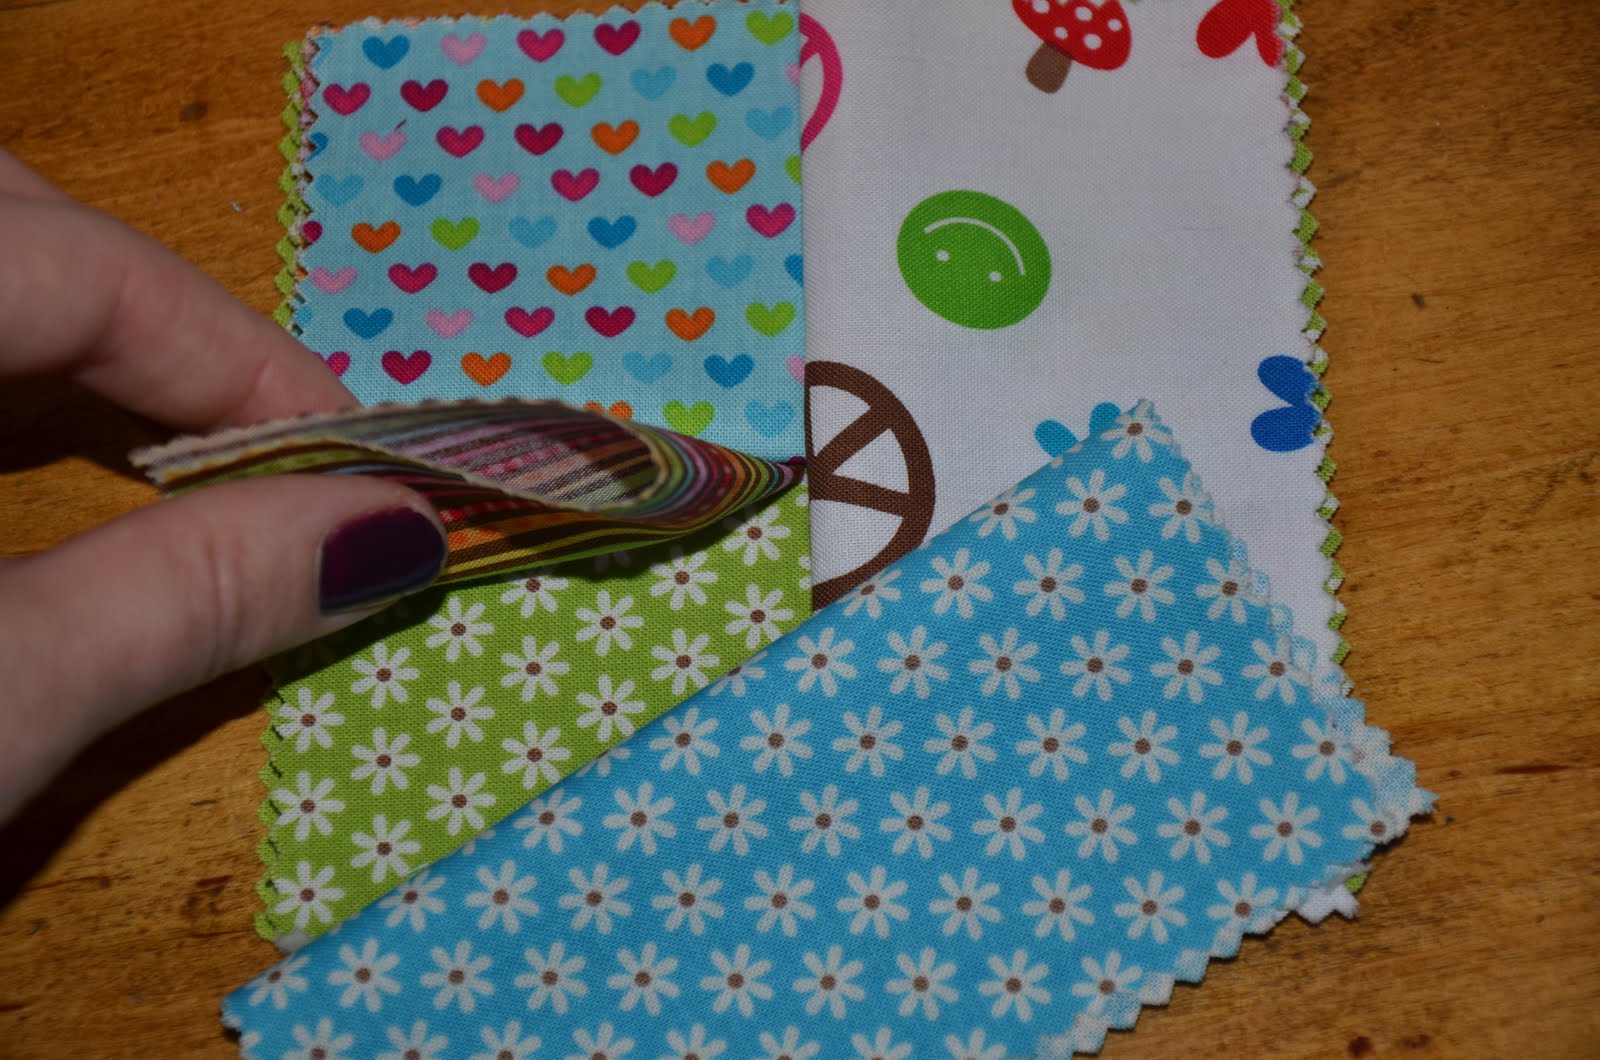
6 - 5x5 squares of fabric
1 - 5x5 sqaure of batting ( I use 100% cotton.. and it's fairly thin)
Scissors


Step One: Sandwich the 5x5 square of batting between 2 of the squares (wrong sides facing) ( Hint: the square on top will be the fabric that will show on the bottom of the coaster)
Step Two: Fold the remaining squares in half ( I just finger press the seam, but you can iron if you want to be more exact)

Step Three: place the folded pieces (unfinished edges together) along the the edges of the 5x5 sandwiched square. Continue with the remaining pieces ( see below)


Step Four: Sew around the entire edge of the
coaster with a 1/4" seam allowance. ( i found it easier to pin
down my fabric - but it's not necessary. )
\
 Step Five: Trim of the excess fabric - epecially
 those corners, were bulk makes it hard
to turn them out.

Step Six: Turn all the folds right-side-out ( use a bone folder, or pen, or something long and skinny (not sharp) to push out the corners. Yeah Your DONE!
Wrap them up with some ribbon and a bow (or a rosette - fun) and gift them. Enjoy...

Shelby, you rock!
ReplyDeleteThanks Tricia :)
Delete